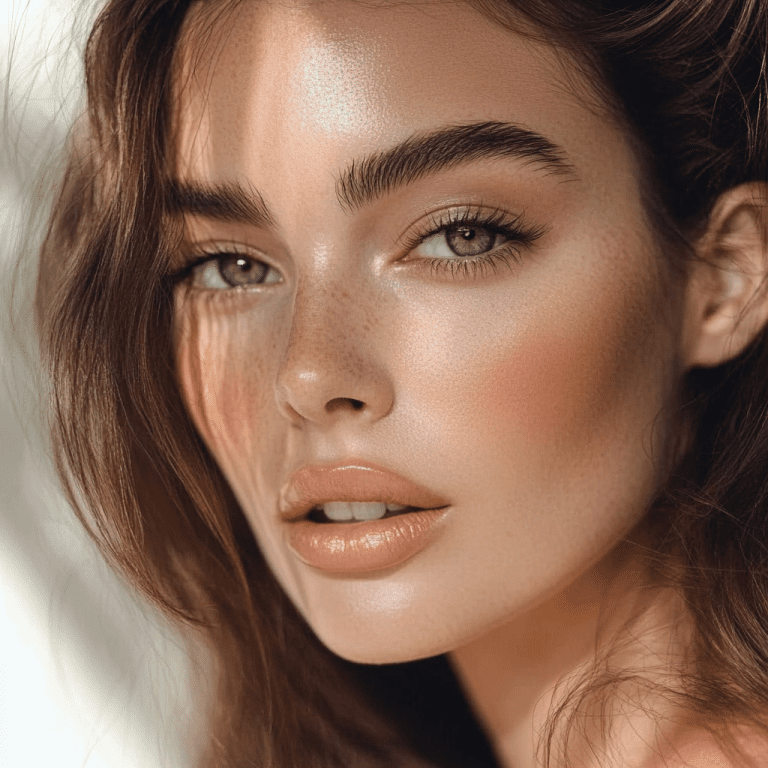
How to Create the Perfect Smoky Eye Look
The smoky eye is a timeless makeup look that exudes elegance, drama, and sophistication. Whether you’re heading to a glamorous event or want to elevate your everyday makeup, mastering the smoky eye can transform your appearance. While it might seem intimidating, creating the perfect smoky eye is easier than you think with the right techniques and tools. Here’s a step-by-step guide to help you achieve this stunning look.
Note: This post contains affiliate links. If you purchase through these links, I may earn a small commission at no extra cost to you. Thank you for supporting my blog! As an Amazon Associate I earn from qualifying purchases.

What Is a Smoky Eye?
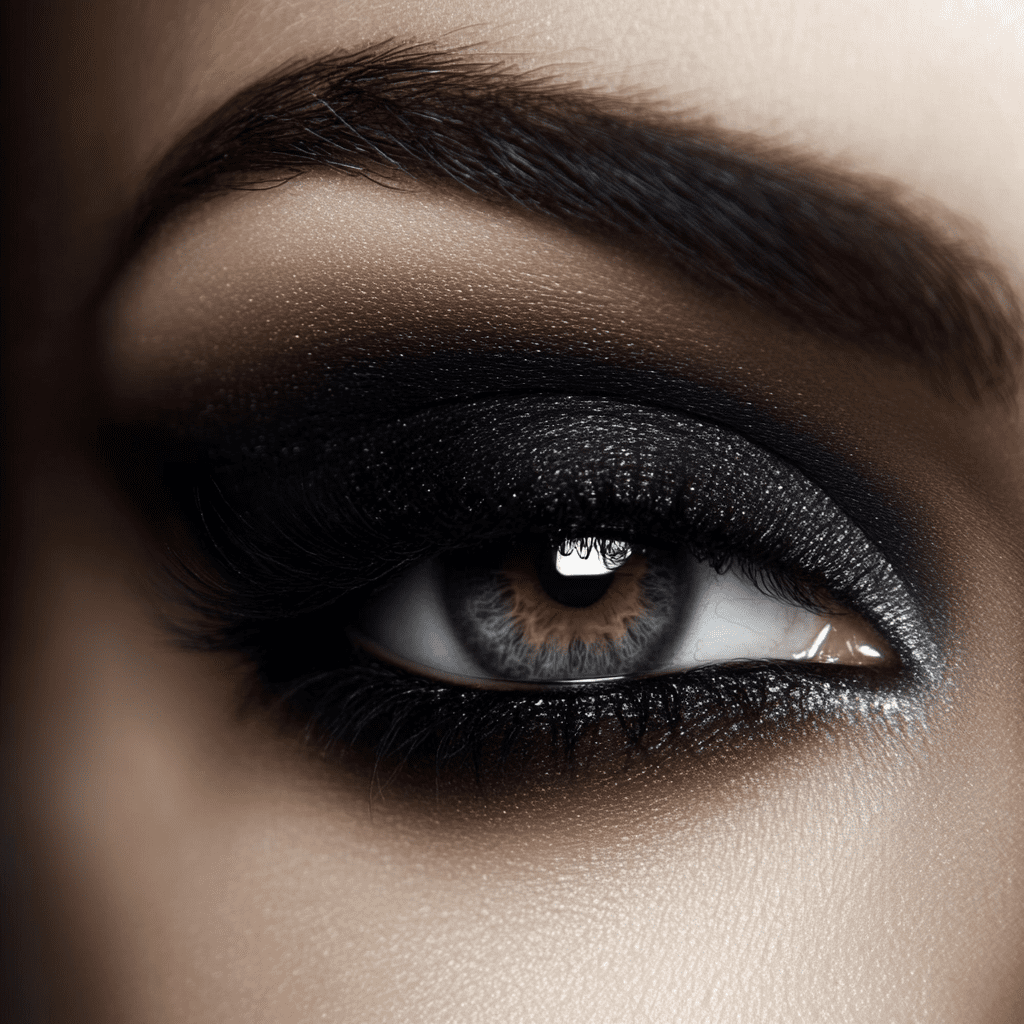
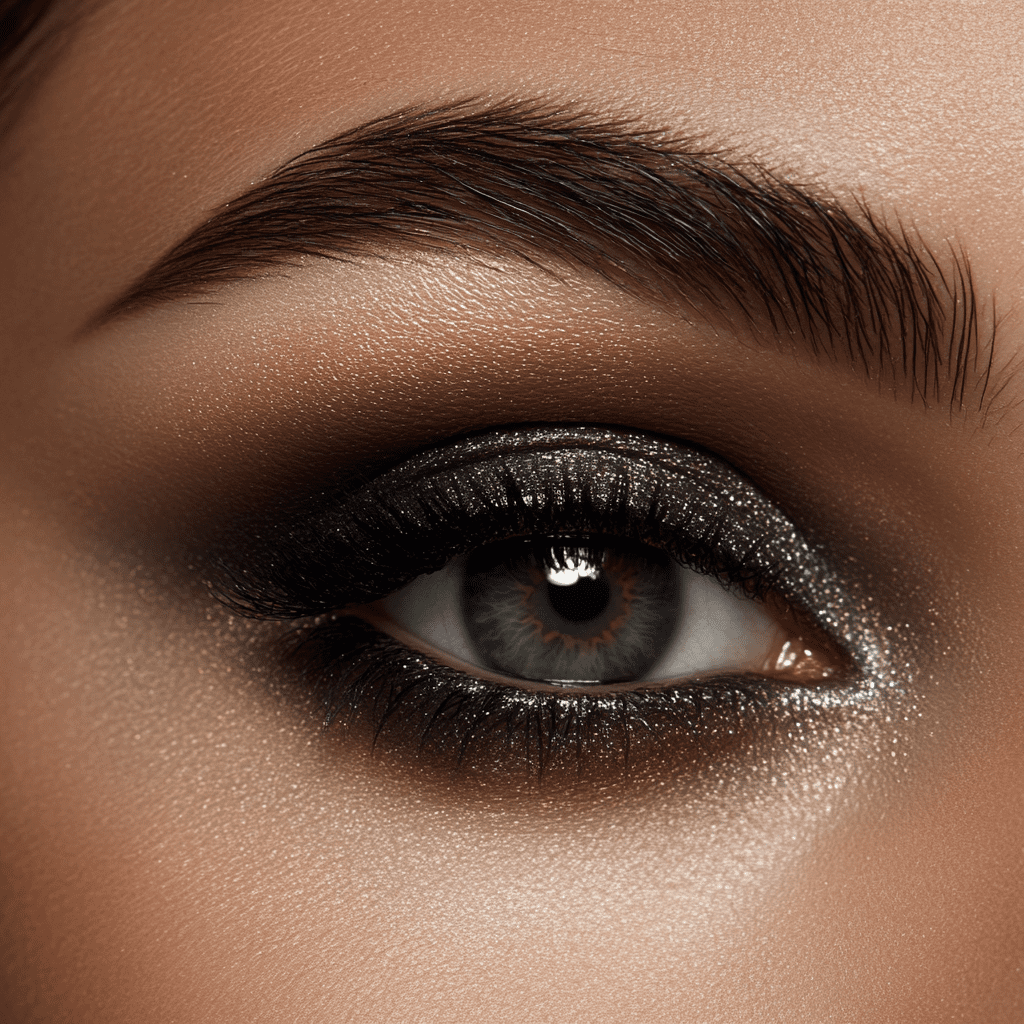
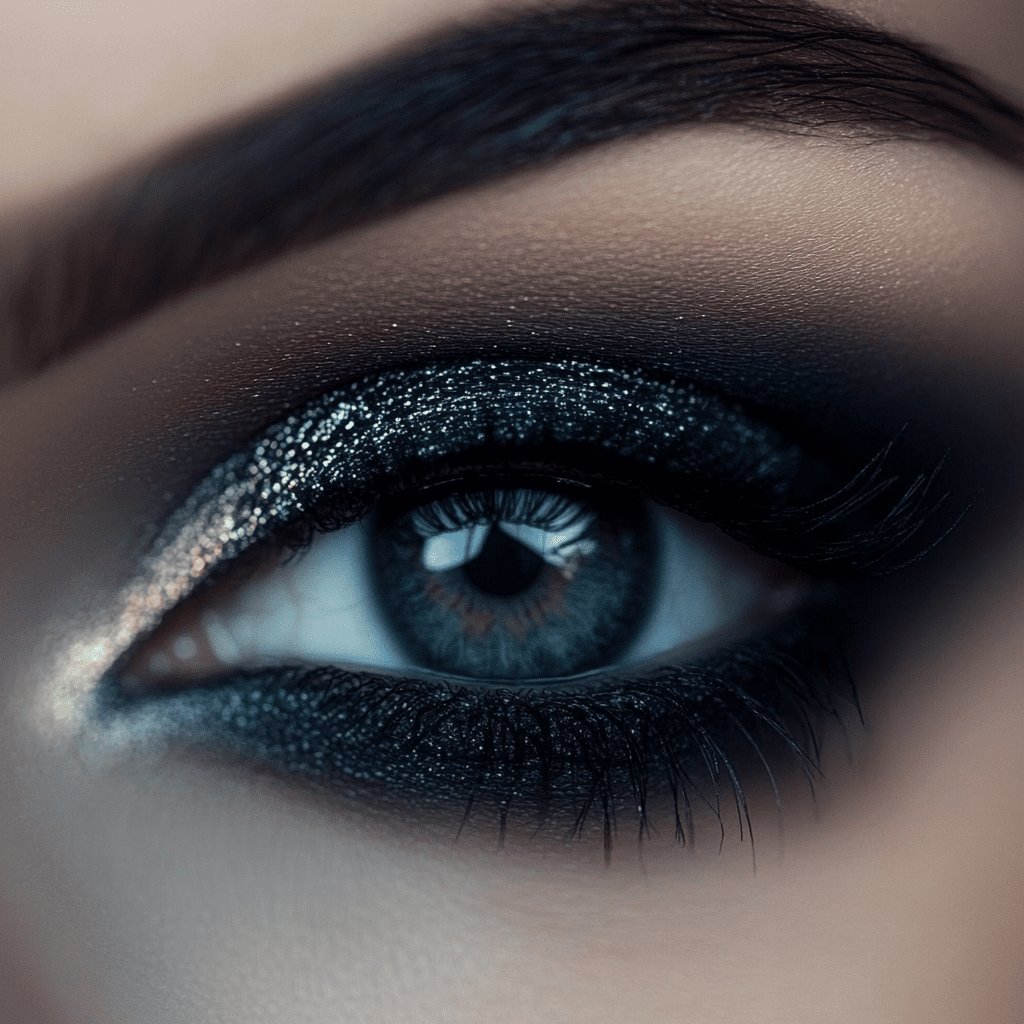
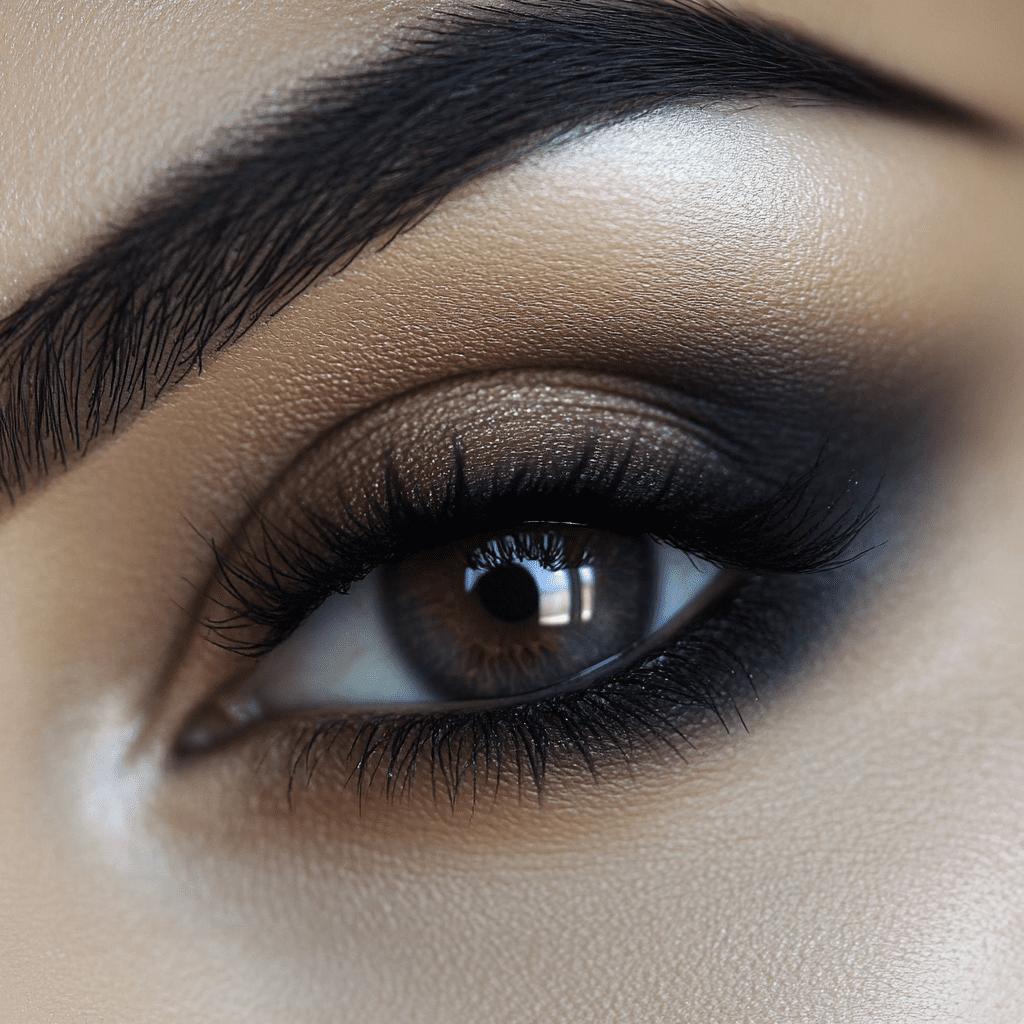
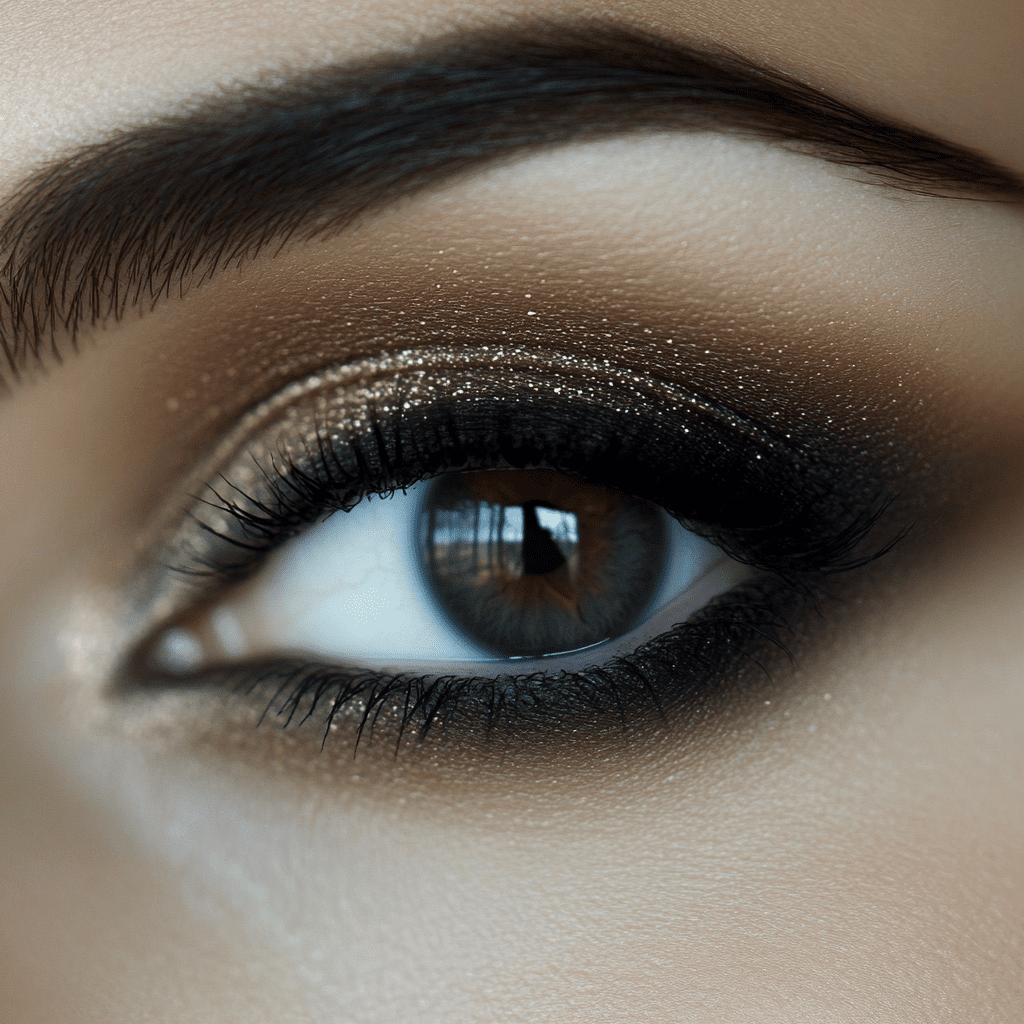
A smoky eye is characterized by a gradient effect where darker shades are concentrated near the lash line and gradually fade out toward the crease and brow bone. This creates depth and drama while maintaining a seamless blend of colors. The beauty of the smoky eye lies in its versatility—you can use classic black, sultry browns, or even bold jewel tones like emerald green or navy blue.
Step-by-Step Guide to the Perfect Smoky Eye
Step 1: Prep Your Eyes
Before applying any makeup, prepping your eyelids is essential for smooth application and long-lasting results:
- Cleanse and Moisturize: Start with clean, hydrated skin to prevent dryness or flakiness.
- Prime Your Lids: Apply an eyeshadow primer or concealer across your lids to create a blank canvas. This step helps disguise discoloration and ensures your eyeshadow stays in place all day.
Step 2: Choose Your Shades
A smoky eye typically requires three shades:
- Base Shade: A light neutral tone similar to your skin color (e.g., beige or cream).
- Mid-Tone Shade: A medium shade for blending (e.g., taupe or soft brown).
- Dark Shade: The deepest color for creating intensity (e.g., black, dark brown, or charcoal).
For beginners, stick to neutral tones like browns and grays before experimenting with bold colors like navy blue or burgundy.
Step 3: Apply Your Base Shade
Using a fluffy blending brush, apply the base shade across your entire eyelid, from the lash line to the brow bone. This shade acts as a foundation for the smoky eye and helps other colors blend seamlessly.
Step 4: Add Depth with Your Mid-Tone Shade
The mid-tone shade is crucial for creating dimension:
- Use a blending brush to apply this shade into your crease, following your natural socket line.
- Blend outward using circular motions to soften harsh edges.
- Extend slightly above the crease for a gradient effect.
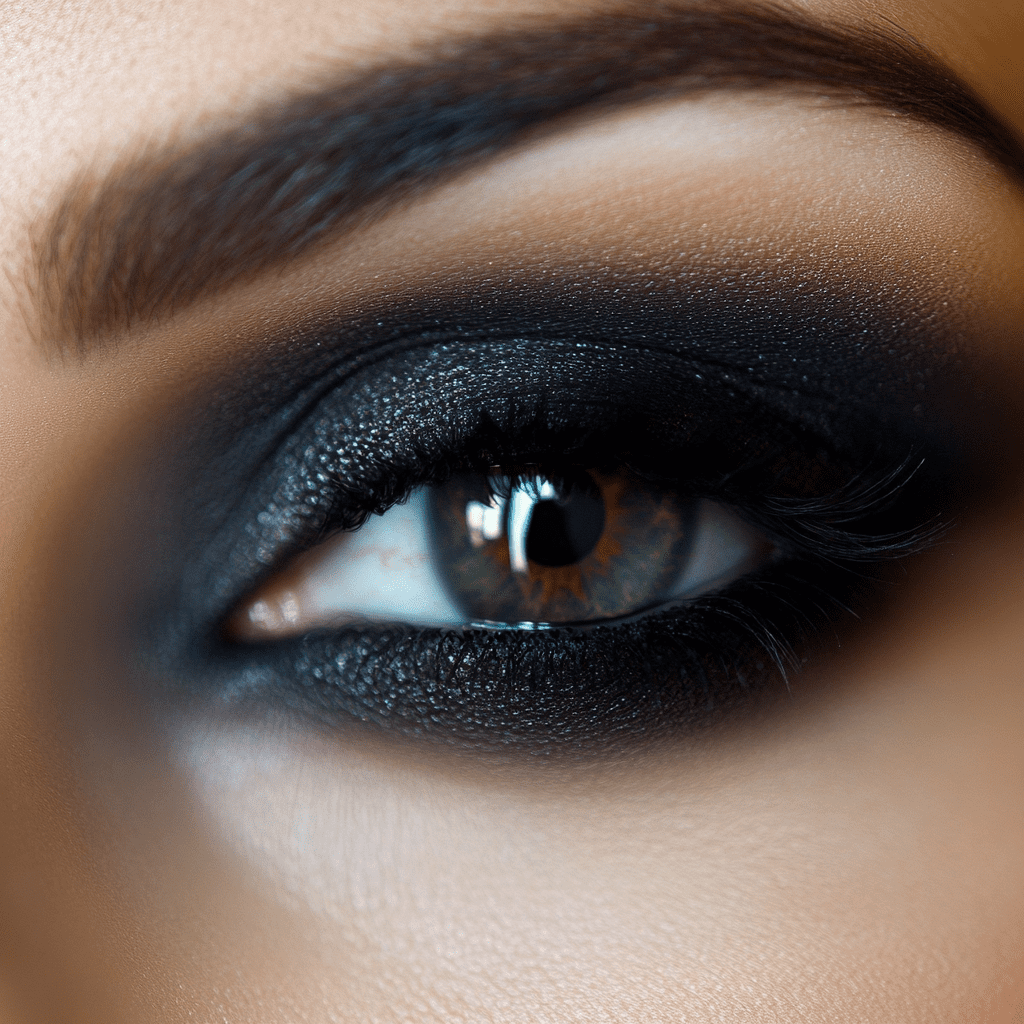
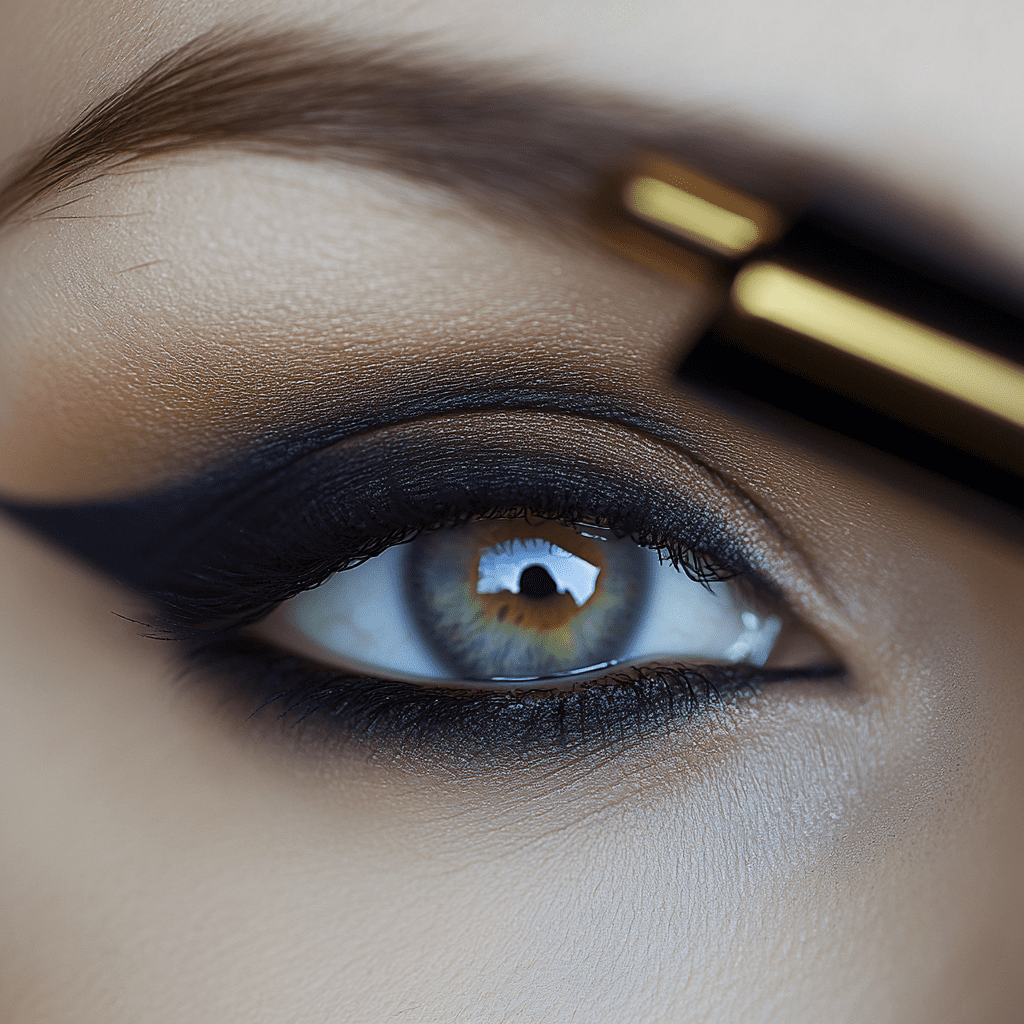
Step 5: Pack on the Dark Shade
The dark shade is where the magic happens:
- Use a flat eyeshadow brush to pack the dark color onto your eyelid, focusing on the area closest to your lash line.
- Gradually blend upward toward the crease using a clean blending brush.
- If desired, smudge some of this shade along your lower lash line for added drama.
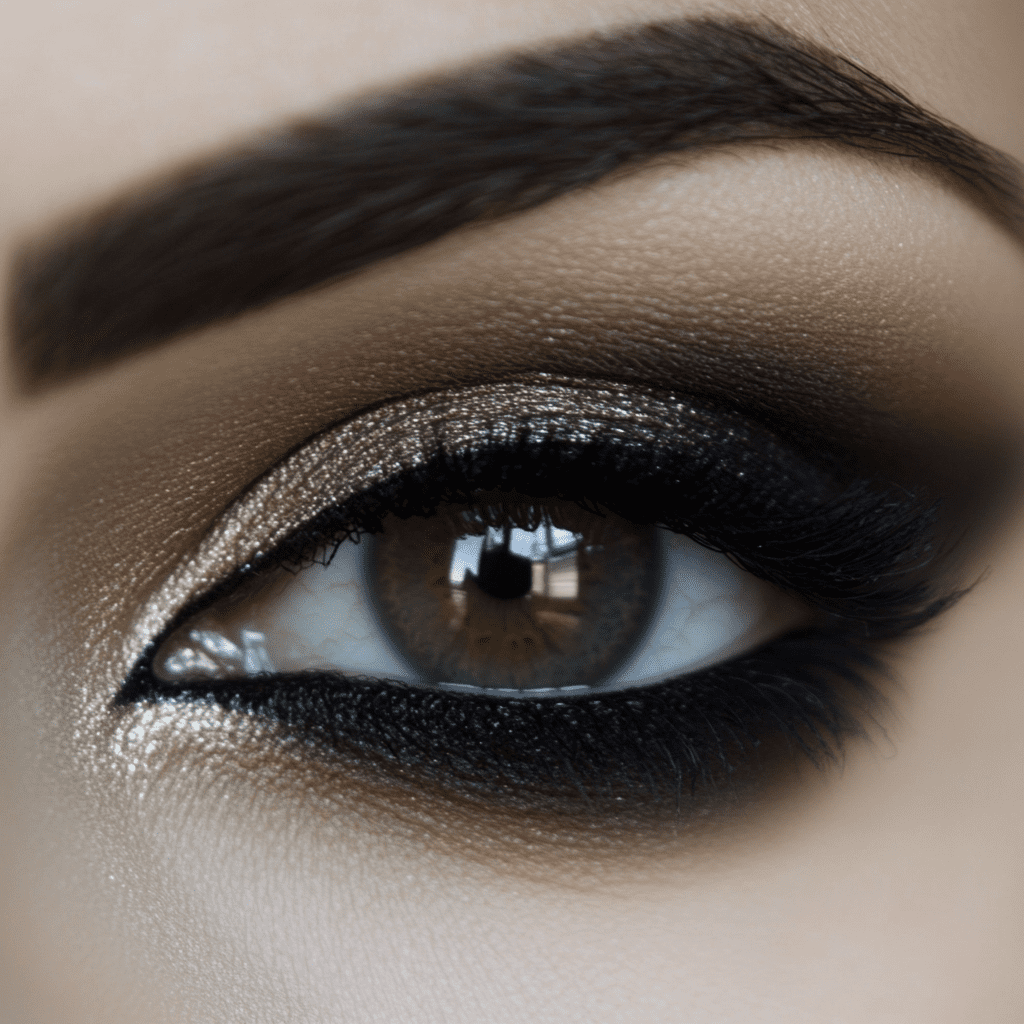
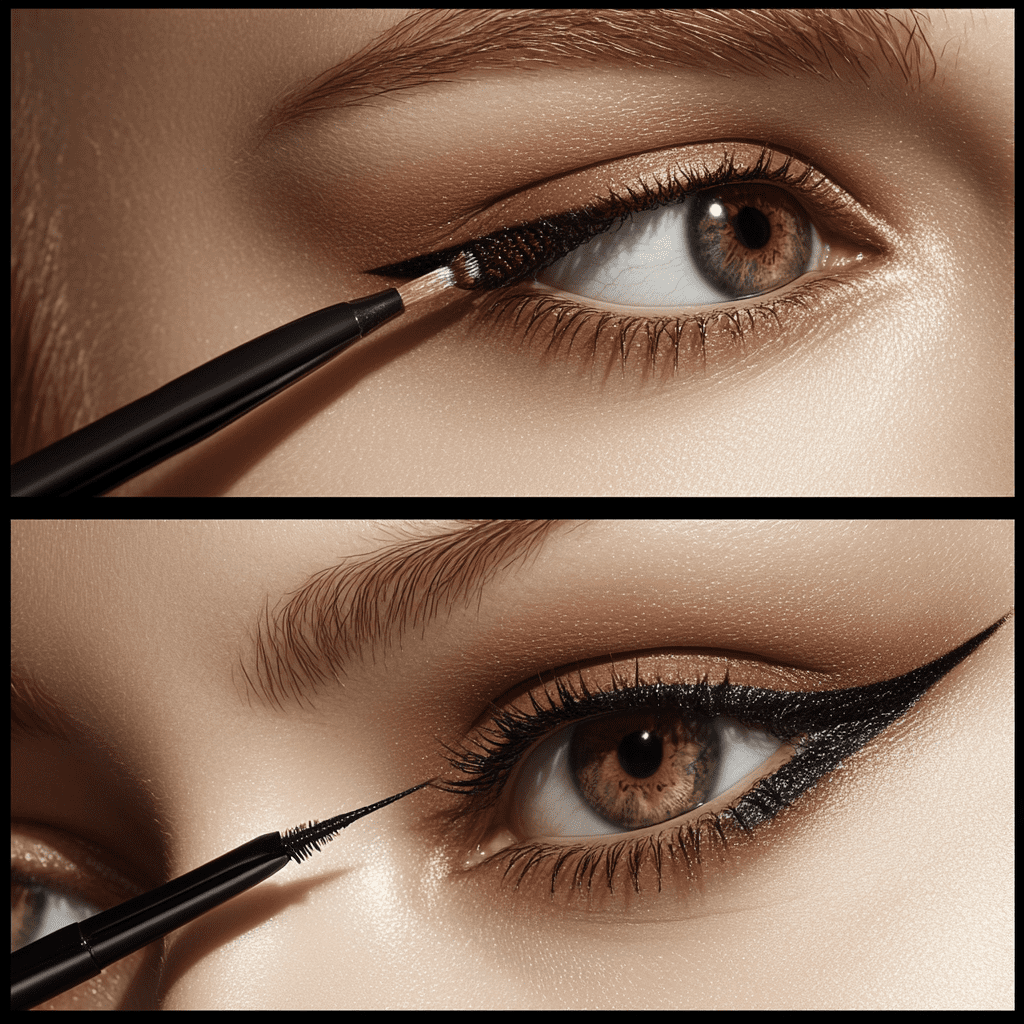
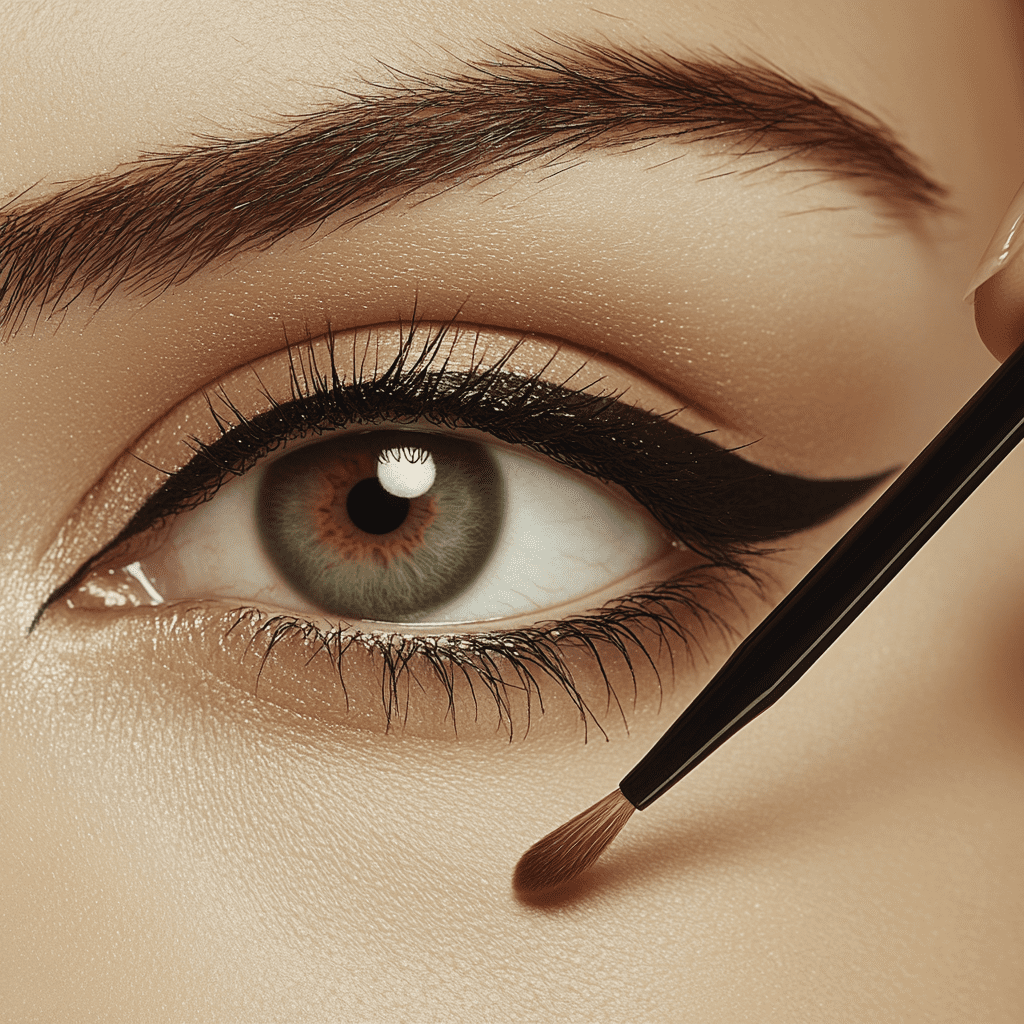
Step 6: Define with Eyeliner
Eyeliner adds intensity and definition to your smoky eye:
- Use a kohl pencil or gel liner to trace along your upper lash line, thickening slightly at the outer corners for a lifted effect.
- Smudge the liner with a small brush or cotton swab for a softer look.
- Apply eyeliner along your waterline for extra depth.
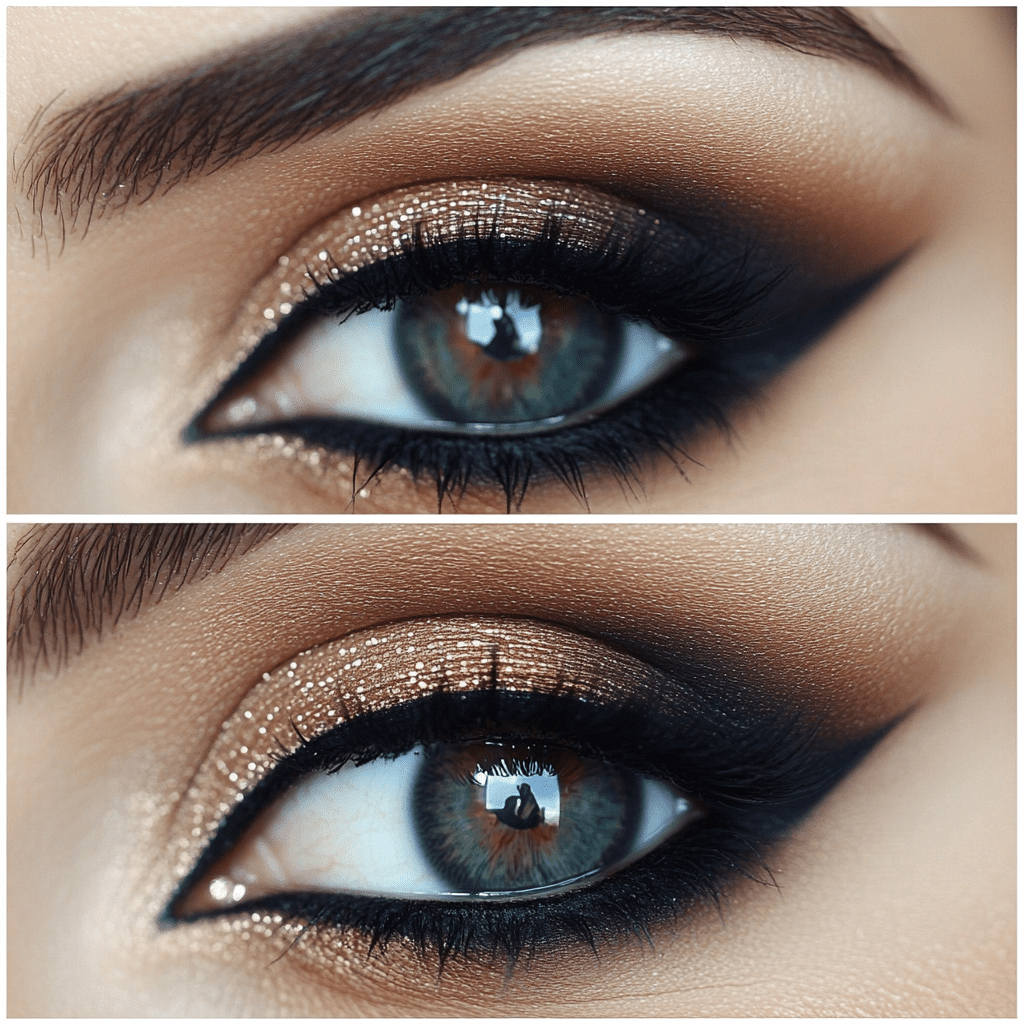
Step 7: Blend Everything Seamlessly
Blending is key to achieving a flawless smoky eye:
- Use a clean blending brush to soften any harsh lines between shades.
- Continue blending until you achieve a seamless transition between colors—this step makes all the difference!
Step 8: Highlight Key Areas
Adding highlights enhances your smoky eye by brightening certain areas:
- Apply a shimmery or matte light shade to your brow bone for lift and definition.
- Place a touch of highlight in the inner corners of your eyes to open them up and create contrast.
Step 9: Finish with Mascara (or False Lashes)
Mascara completes the smoky eye look by adding volume and length to your lashes:
- Apply two coats of volumizing mascara to both upper and lower lashes.
- For extra drama, consider adding false lashes—they can elevate any smoky eye look instantly!
Tips for Perfecting Your Smoky Eye
Creating the perfect smoky eye takes practice, but these tips can help you master it faster:
- Start Light: Build up intensity gradually by layering eyeshadow instead of applying too much at once.
- Use Quality Brushes: Invest in good brushes for precise application and seamless blending.
- Know Your Eye Shape: Tailor your smoky eye technique based on whether you have hooded eyes, almond-shaped eyes, or deep-set eyes.
- Clean Up Mistakes: Use translucent powder or makeup remover wipes to clean up any fallout or uneven edges.
- Experiment with Colors: Once you’ve mastered neutral tones, try bold shades like emerald green or plum for unique variations of the smoky eye.
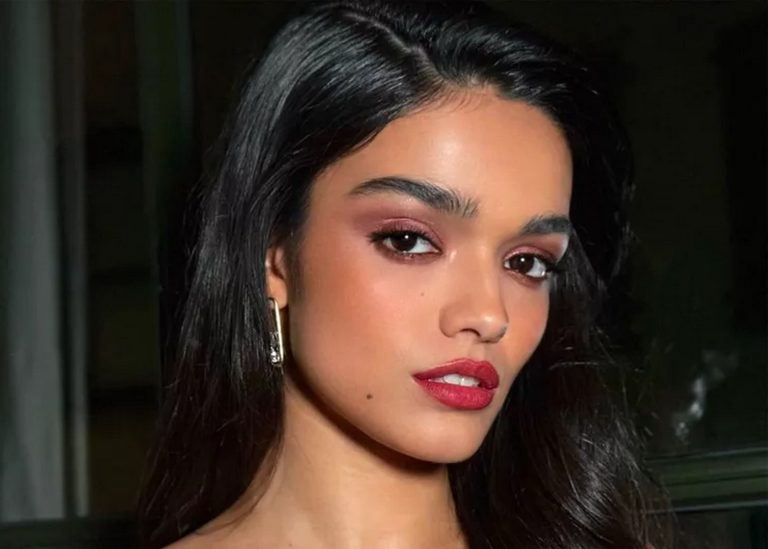
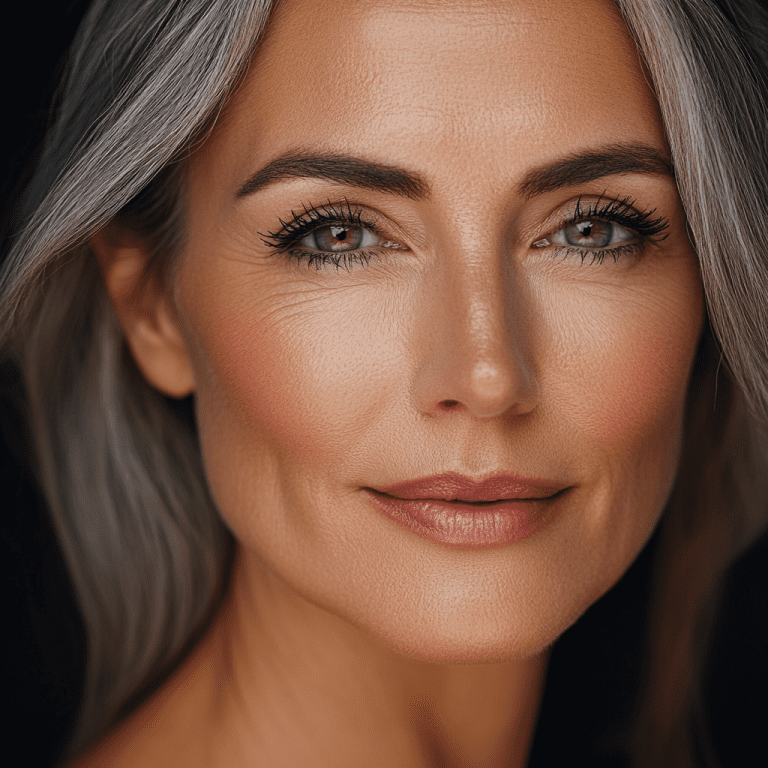
Smoky Eye Variations
While classic black is always stunning, there are endless ways to customize your smoky eye look:
- Brown Smoky Eye: Perfect for daytime wear; softer than black yet equally sultry.
- Jewel-Toned Smoky Eye: Incorporate emeralds, sapphires, or amethysts for special occasions.
- Soft Glam Smoky Eye: Use lighter shades like taupe and champagne for an understated yet elegant look.
- Winged Smoky Eye: Extend shadows outward into a wing shape for added drama and elongation.
- Monochromatic Smoky Eye: Stick to one color family (e.g., all shades of gray) for a cohesive look.
Common Mistakes (and How to Avoid Them)
Even seasoned makeup enthusiasts can make mistakes when creating a smoky eye—here’s how to avoid them:
- Skipping Primer: Always prime your lids to prevent creasing and ensure longevity.
- Overloading Product: Apply shadows in thin layers; too much product can look muddy.
- Neglecting Blending: Blend thoroughly between shades; harsh lines ruin the gradient effect.
- Ignoring Lower Lash Line: Smudging shadow along your lower lash line ties the whole look together.
- Using Only One Brush: Different brushes serve different purposes—use them wisely!
Conclusion
The smoky eye is an iconic makeup look that never goes out of style—and now you have all the tools and techniques needed to master it! Whether you’re going for classic black or experimenting with bold colors, this guide ensures you’ll achieve flawless results every time.
Remember that practice makes perfect—don’t be afraid to experiment and tailor techniques based on your preferences and unique features.
So grab those brushes, pick out your favorite palette, and get ready to create stunning smoky eyes that turn heads wherever you go!
Note: This post contains affiliate links. If you purchase through these links, I may earn a small commission at no extra cost to you. Thank you for supporting my blog! As an Amazon Associate I earn from qualifying purchases.
My Personal Favorites: Affiliate Recommendations
Here are some of my go-to products that have helped me perfect the smoky eye look:
- Morphe 35U Makeup Palette: Perfect for creating a gradient effect with rich, blendable shades. (Affiliate link: click here)
- Revlon ColorStay Pencil Waterproof Eyeliner: Smudges beautifully for a soft, smoky finish. (Affiliate link: click here)
- EcoTools Blending Brushes: Essential for seamless transitions between shades. (Affiliate link: click here)
Note: This post contains affiliate links. If you purchase through these links, I may earn a small commission at no extra cost to you. Thank you for supporting my blog! As an Amazon Associate I earn from qualifying purchases.
By incorporating these tips and products into your routine, you’ll be well on your way to mastering the perfect smoky eye. 💄✨